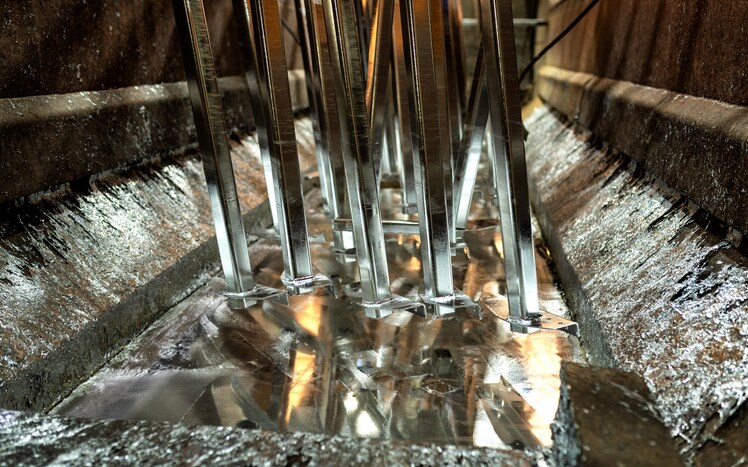
 Galvanized (GI) steel is flat sheet steel which has been coated in a layer of zinc to help the metal resist corrosion. The US General Services Administration notes that galvanized sheet steel is typically used for flashing, gutters and downspouts, as well as for hot-dipped galvanized steel nails, roof and wall ornaments, and other building materials.
Manufacturers of GI must meet certain specifications for the finished product to meet customer requirements. That can be a difficult task, as we outlined in previous articles.
Part of the process of manufacturing quality galvanized sheet steel is to build a set of certified GI reference samples.
When planning to build a set of certified GI reference samples, it is critical to consider the product mix of the production line. In order to prevent production measurements that are extrapolated from the base calibration curve, candidate samples should be collected at least 10% above and below the typical production range.
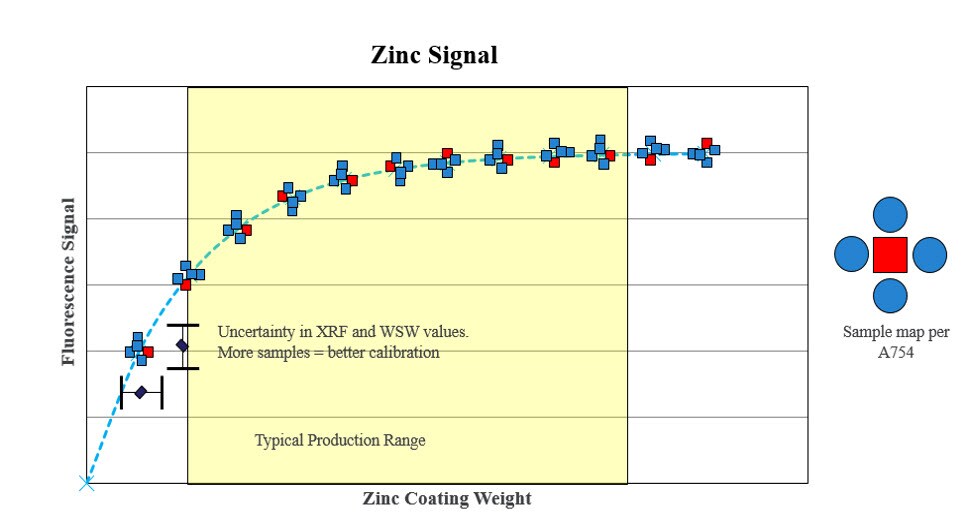
Candidate samples should be collected following the ASTM A 754 / A754 M procedure, where full 9in. x 9in. panels are taken from the line. However, instead of immediately destroying the four satellite samples with W-S-W analysis, each of the five individual candidate samples (central sample and 4 satellite samples) should be measured on the XRF coating weight gauge that is being used.
As the samples are measured, the fluorescence signals should be stored in a data file. With this approach it is possible to establish a calibration curve, post XRF-measurement, that is based on all 5 samples, four of which will have traceable values determined via the destructive ASTM A90 process.
This method was proposed in the 1995 paper by M. Deka.1 Including all the samples in the development of the calibration curve will increase the statistics of any least squares regression, because as pointed out above, there is some uncertainty in both the W-S-W process and the XRF measurement. For some coating weight gauges, the reproducibility of the XRF measurement, as defined by IEC 1336, is stated as +/- 0.15% of the nominal coating weight or +/- 0.1 gsm whichever is higher. When the human element is added, errors in sample placement can occur leading to a larger value, as much as 3.8 % as indicated in the 1992 paper from J. Leeker et al.2 Additionally, there may also be a benefit of extending the calibration range with samples above and below the production range with the outlying satellite samples.

Ideal calibration curve using and developing traceable GI reference samples
Taking full advantage of the ability to store XRF voltages from GI samples, this method of developing GI reference samples can help minimize the observed error in online coating weight calibration curves.
For more details, read the white paper Challenges Associated with Developing XRF Coating Weight Standards that includes a review of XRF coating weight gauges, the measuring principles behind the systems, calibration methods, and more.
References
1M Deka, “Procedure for Generating Calibration Standards for Galvanized and Galvanneal Product”, Proceedings of the Galvanizers Association, 1995.
2J W Leeker, D Kleimeyer, G S Burgess, “Calibration Program – Coating Weight Standards for On-line Gages”, Proceedings of the Galvanizers Association, 1992.
Additional Resources:
- Download our free eBook: A Practical Guide to Improving Steel Manufacturing Processes and Production Methods
- Visit our center for Improving Steel Manufacturing Processes and Production


The post has highlighted the many uses of galvanized steel, which I think are cool! Galvanized steel is an excellent material for any construction. It’s used in various ways, from flashing to roofing and gutters. And it can be found in all sorts of products as well, such as nails or downspouts. Galvanized steel is corrosion-resistant and very durable!